Plots and scheming - digging out a raised bed for fresh food and herbs

A new small raised bed in the garden to provide fresh produce.
Plans
In our new home we have a much bigger garden — in fact, it’s a bit daunting, to be honest. Paula would really like to combine a cut flower and vegetable garden so we visited Sarah Ravens home/garden/enterprise to see how she had achieved this and are planning something on the same lines — but not quite so grand or commercial! However, it is apparent that it’s going to take a while to get there so we decided that we needed a smaller raised bed to grow some food this year. We installed a new greenhouse in May and that spurred us on. So the position was chosen — next to the greenhouse where we had taken out a rhododendron bush and it was next to a laurel.
Building
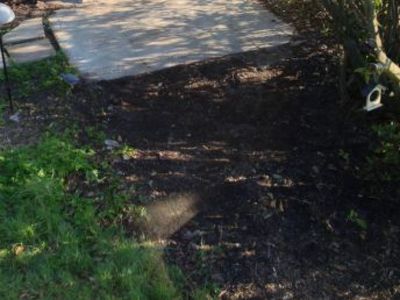
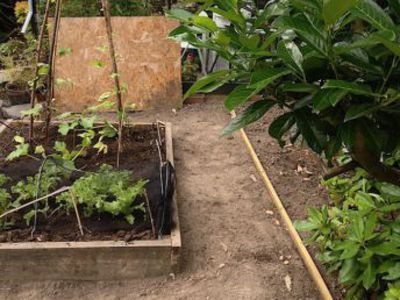
I marked the plot out with some chalk line spray and some old bits of pipe to a size of 2 by 1.2 meters wide. It could have been bigger but we wanted to be sure that we could reach all parts of the raised bed without having to stand on it.
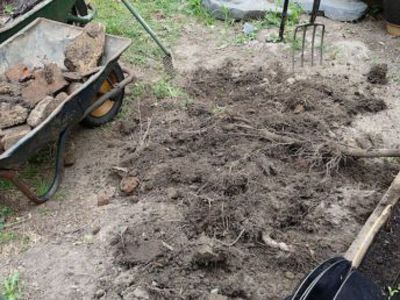
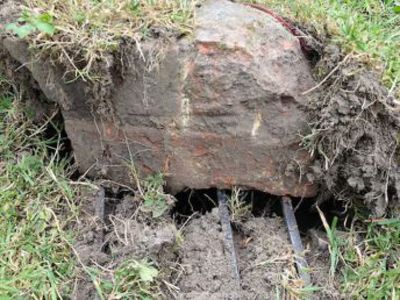
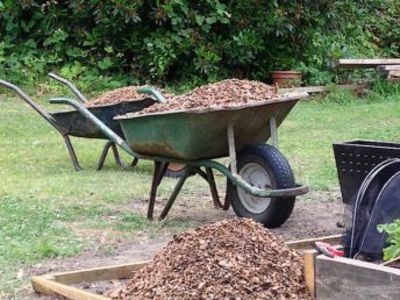
Then we started digging. We had read that we needed to dig down about 2 to 3 foot but it was apparent that the whole area was a mass of roots. The fork came in very hand to break up the soil and expose the roots which we then cut or sawed through. It took a couple of long backbreaking sessions to fully dig this out and we probably did not go down 3 foot in the end, but we did remove two barrows of roots and three of builders rubble. That’s a pet hate of mine — builders who sweep the dirt under the carpet. In this case, it looks like the whole lawn had been turfed over the rubble left over from building the extension. We also removed a small pile of brick bits and stones that the builders had buried in one big hole. With all this removed and the earth dug over, we then set about building the raised bed.
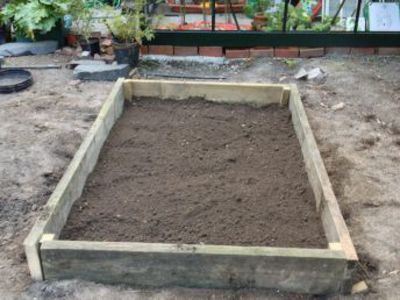
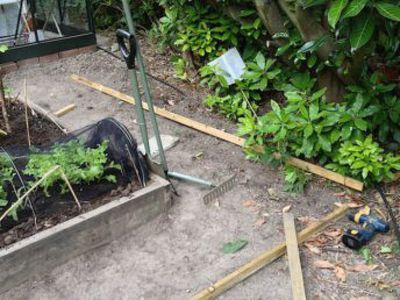
First I cut some 2″ square pressure treated timber to length — height of the side boards was about 120mm (note I regularly work in inches and millimetres — never centimetres because that was how I was taught doing woodwork and Engineering) and I made that 2⁄5 of the height of the peg. I then cut the peg to a point. Next, I cut the boards to length. I keep reading that scaffolding boards are good for this but I had some leftover roof trusses in the garden that were perfect. I then hammered the pegs into the four corners of the plot, as marked out, and nailed the boards to them making sure everything was level and square(ish). There are several good tutorials and videos online on how to create a raised bed.
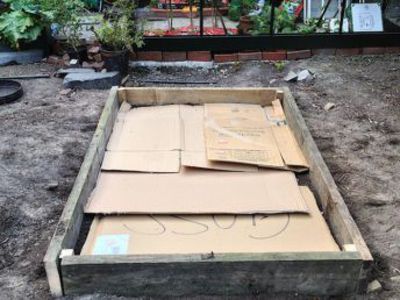
We know the ground under the raised bed will have had most of it nutrients sucked out by the laurel and rhododendron bush but raising the bed means we give the plants a good start before they get there and we can water them easily. At the bottom of the bed, we placed some large pieces of cardboard cut to fit. This acts as a barrier to any plants we don’t want trying to grow up through the bed and also as a moisture trap so that the raised bed doesn’t dry out too quickly.
Filling
We needed some good topsoil to fill the bed so had some delivered that had been premixed with manure and other goodies. It was also guaranteed not to have any weeds in it and we didn’t want out veg fighting for nutrients with unwanted weeds. This was purchased over the Internet and next day a small truck arrived with an onboard mini hoist that lifted the bag into the designated spot which we chose nearby so that it was handy to shovel directly into the bed. An hour of shovelling and tea breaks saw the bed full of the new soil and raked flat.
Planting
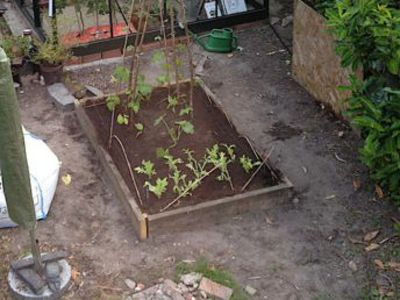
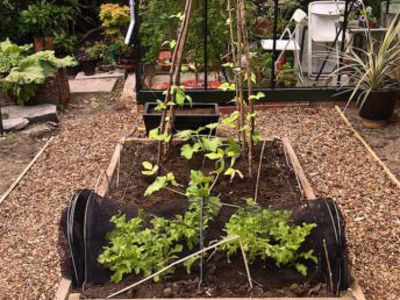
We sowed two rows of lettuce and put it under a black net tube, six runner beans with A-frames made from hazel rods and strengthened with a bamboo cross member and string. Under that frame, we put two courgettes plants and everything was watered in. Each edge has a row of marigolds growing to fight off pests. So far everything is growing well, we have already picked some of the lettuce. We have had a visitor though — a pheasant has used the middle empty spot as a dust bath!
End of season
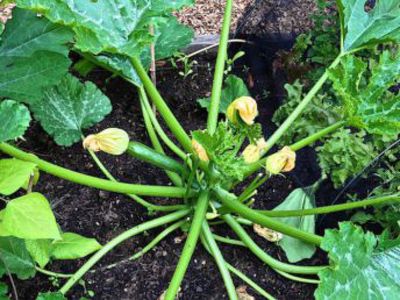
Most of the above happened early summer but it is now November and I have caught up a little. We had lovely lettuces all summer and the only reason the lettuces didn’t go on quite as long as hoped was that one of the courgette plants grew over it and the leaves are quite big! The runner beans came on quite late but we have had too many to eat so have let some go to seed in the hope of propagating them next year. The courgettes went mad! We must have had 30 or so and have been cutting them off every few days else they grow too big too quickly.
The last courgette I cut was in the first week of November — I need to check again in case there are any hiding! Overall a bumper harvest in a smallish space so we are of course planning bigger beds elsewhere. We probably haven’t saved a significant amount of money on produce but that was not the point — these are fresh vegetables without any pesticides or treatments for the supermarket shelves.
A success!
Plots and scheming gallery

Next post: Whitesands Quay - row of cottages
Previous post: EU cookie consent law largely ignored


