Small Run Batch Deutz OO9 kit - part 2

Body work for the SRB001 Freelance DEUTZ Style 0-4-0DM
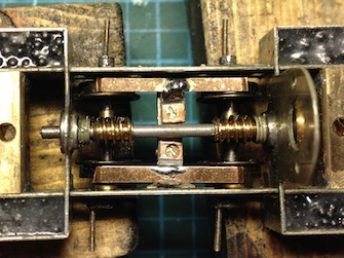
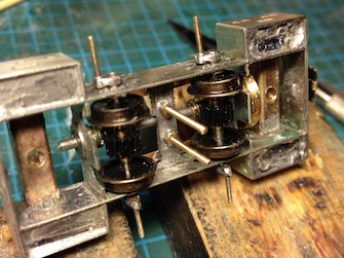
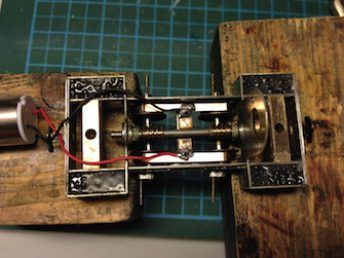
In my first post about this new 009 kit of the Deutz. I got as far as adding ballast into the chassis. I then created added the cranks without the rods. This is quite a delicate operation and I needed to ensure the Locktite didn’t go into the wrong places else I would have had a seized mechanism. It didn’t but it was all a bit tight.
On the advice of the kit manufacturer, Stuart Brewer, I ran a small drill with a buffing pad up against the large flywheel/gear which turned the lay-shaft and wheels. I did some cleaning out of the threads in the screws and gears first to ensure there weren’t bits of metal caught up as there had been a lot of swarf as I filed and drilled things on the chassis. After about 5 minutes each way with the drill the mechanism was running a lot more freely.
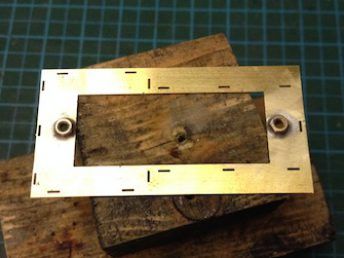
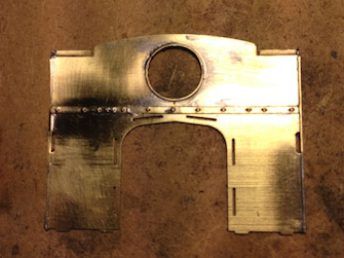
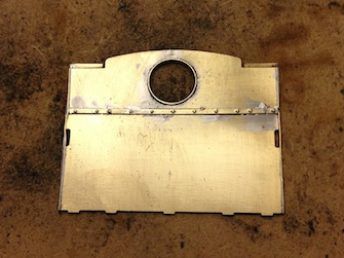
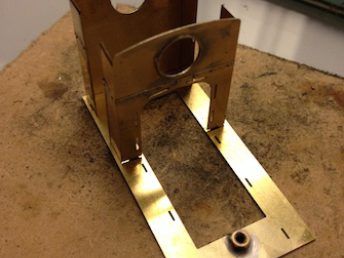
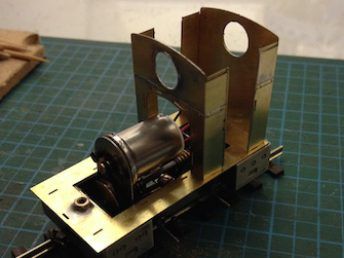
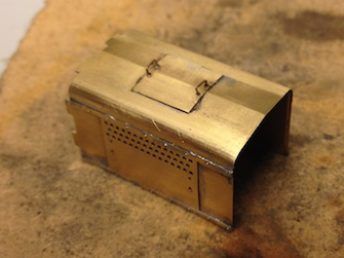
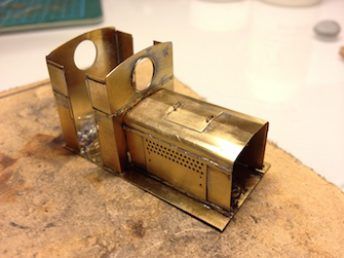
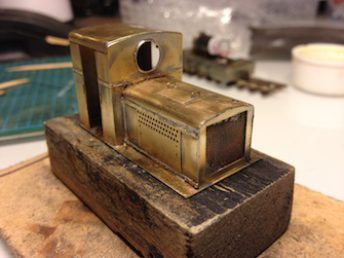
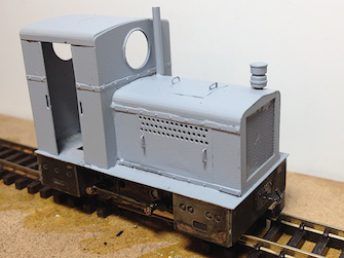
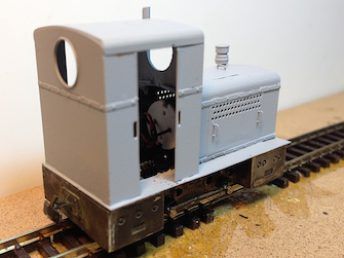
I started the body — the footplate is a little thin so you need to be careful not to bend it in the construction. The first step was to make the bonnet up and I found the riveted strips quite tricky as they want to slide around out of place! For the bottom ones make sure you leave the tabs protruding. I didn’t at first and this caused some pain later when adding the bonnet and cab subassembly to the footplate!
The cab sides are straightforward, the portholes are delicate — leave the crosshair wire fret in the hole to help you Centre the window frames. There are two tiny strips to be added to each side of each doorway and this is quite tricky to get it spot on.
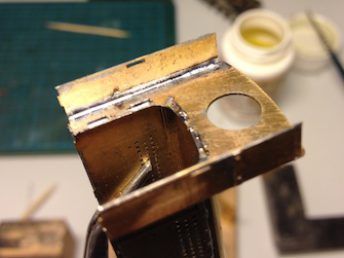
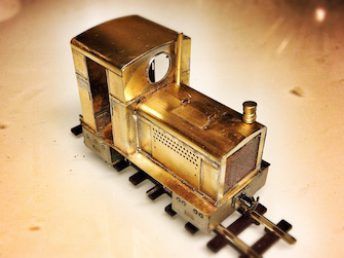
The roof has a double curve but is reasonably easy to fit if you make small adjustments and keep offering up to the cab.
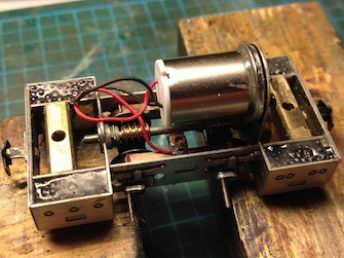
I then added the crank rods having made them a loose enough fit. Next, the pickups were installed which was fiddly but works well. The phosphor bronze pickups were curved a little so that their springiness ensured there will be contact with the wheels at all times. Once done I tested the circuits with a meter to make sure there would be not shorting. Next, I added the motor and belt drive and put it on my rolling road to test. Again it was a little stiff but everything worked! I then oiled up the moving parts and set the engine on the rolling road for 30 mins running in each way.
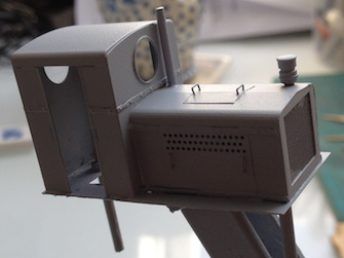
The body was removed, cleaned and finished with filler where needed. Then I undercoated it with U-POL Acid 8 etch primer. The motor and pickups were removed from the chassis and Carrs blackening used. At the moment I need to redo this — possibly paint it as well to get the finish I want.
Small Run Batch Deutz OO9 kit - part 2 Gallery
Next post: Halle Marchandise en bois
Previous post: Whitesands Quay first outing


