A scratch-built rail-bus for the Ding Dong Moor Railway

I built a new rail-bus in the style of Reinier Hendriksen
I was inspired to build a copy of one of Reinier Hendriksen’s rail-buses from his original article of April 1999 edition of the 009 news, after I read the archived material from the 500th edition. For my version, I decided to use a Kato chassis as it wouldn’t fill out the back half of the railbus, as Reinier’s Trix chassis had. The readily available Kato chassis does have an ugly lump underneath that takes away the spindly look a rail-bus typically had. It does add weight though, and only the purists will get agitated when they see it.
The main body of the railcar
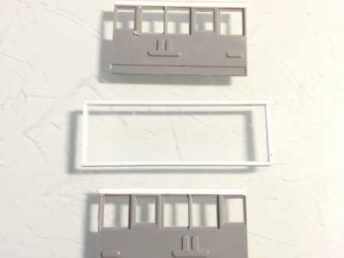
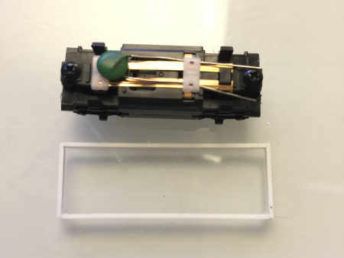
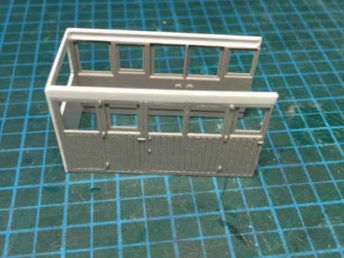
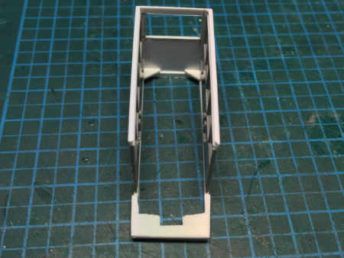
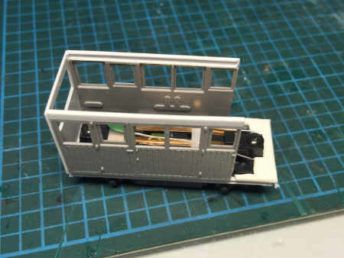
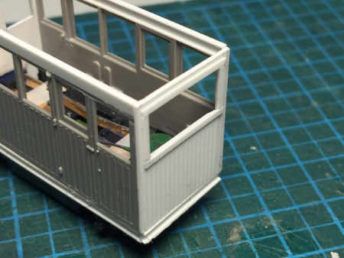
I cut the balcony ends off the chassis with a razor saw back to the metal part of the chassis. Then a frame was prefabricated from U profile Evergreen styrene and tested for a good fit over the chassis. There is a very slight lip on the chassis that it can rest on. The body was then built on top of this initial frame.
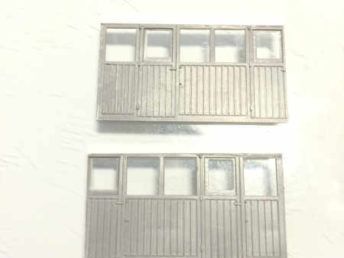
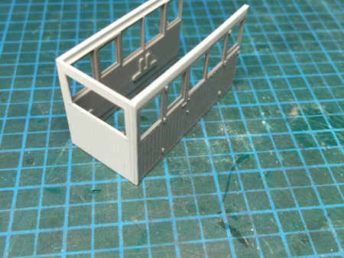
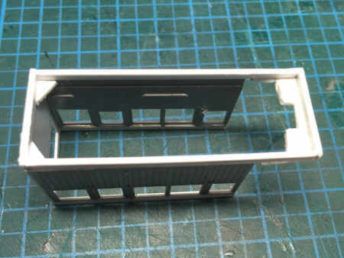
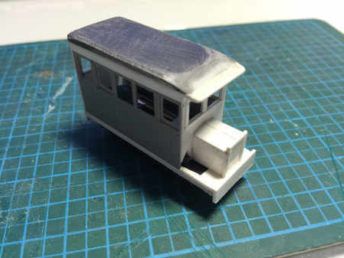
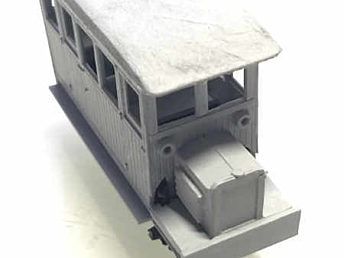
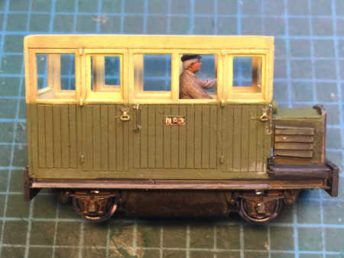
Reinier used the cut-down sides from a Parkside Dundas DM68 kit to make his original rail-bus. So I used the same kit, cutting one panel off each end so that a door panel, for the driver, was at the front. The louvres above the doors and windows were cut off leaving some beading, and I used U profile Evergreen styrene to build a top section to give the rail-bus greater height.
The front and back sides were made from Evergreen car panelling with a strip added to form window framing. Once the U profile Evergreen styrene was glued to the top of each panel I assembled the body on the frame. Inside at the back, I also added two triangular corner pieces that enable to body and frame to rest on the chassis and helped strengthen the body.
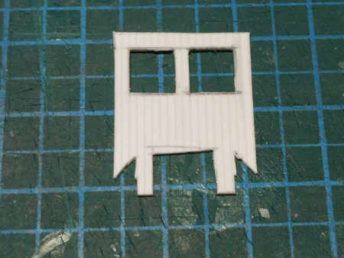
Bulkhead
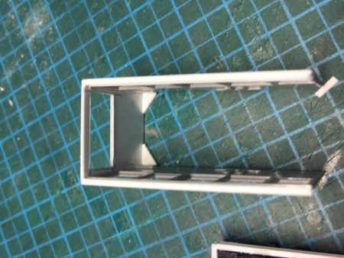
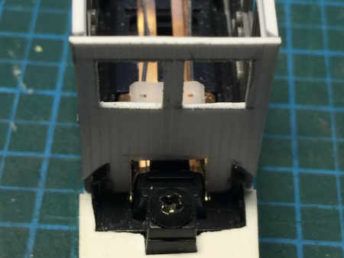
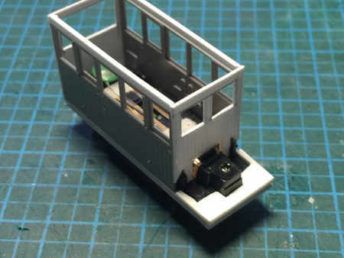
The front bulkhead needed triangular shapes cut out to match the two prongs on the Kato Chassis. I did consider cutting the styrene so that the body would snap onto these prongs but that would have made it really difficult to take the body off afterwards. The alternative is the cut the prons off the chassis but they do help with the friction fit of the body — and they are not that noticeable unless you find them. I could add a toolbox and oil can on the front plate to hide these.
Inside
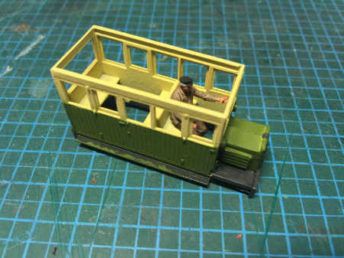
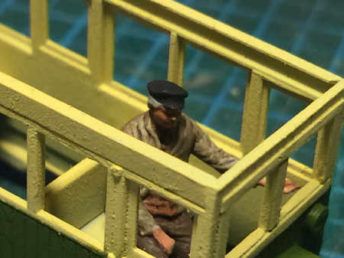
Inside the body I used the seats from the DM68 kit, as they are slightly above the Kato motor, to provide three bench seats — one for the driver and the others are in the passenger part of the cabin with an upright dividing them. I used the seat positions that are moulded in the coach sides.
Engine and frame
At the front of the frame I cut a piece of 1mm thick styrene sheet to fit around the chassis motor block and this was then glued onto the frame.
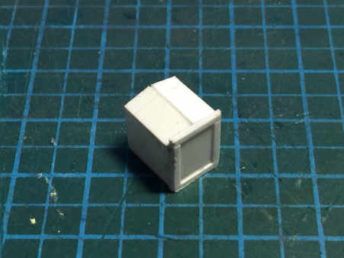
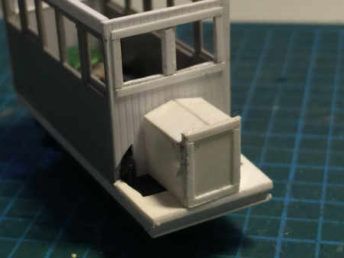
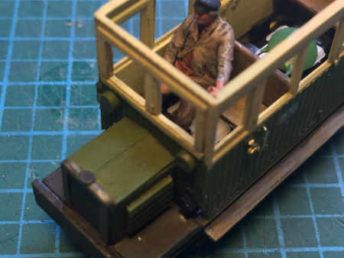
The radiator was measured out and strip frame added. I didn’t have any really fine wire gauze to use to represent the radiator grill so left it as a blank sheet. In hindsight, I might have tried some fine corrugated styrene but the mind fills in the details. The side and top are fashioned from plain styrene and then I added a simple square of Evergreen clapboarding to represent some louvres at the side. A small slither of styrene rod was cut and glued on as a radiator cap to finish this off.
The two small headlamps on the bulkhead are 1.5mm tube cut, filed, filled and glued in place as a simple representation of headlights. Buffer beams were crafted from 1mm thick styrene sheet and attached front and back.
The roof
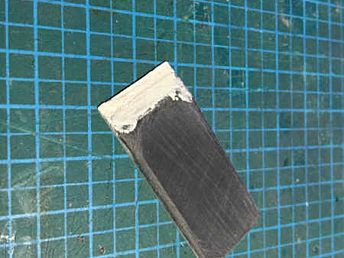
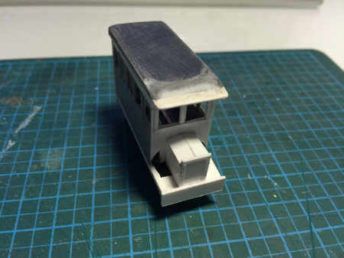
For the roof, I used the same technique that Reinier did — glueing two cut out sheets of 1mm styrene together and then sanding the edges to get the curved look. For the gentler front slope of the roof, the top sheet was slightly shorter and I did use some filler to get the slope before sanding. when dry and set I glued some single ply tissue on to give a canvas texture.
Detailing
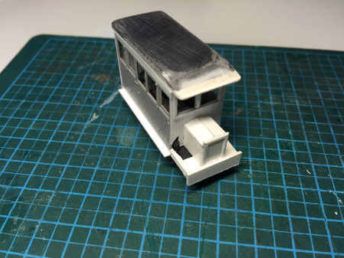
Footboards were added to the frame, some gaps filled and the body and roof separately primed.
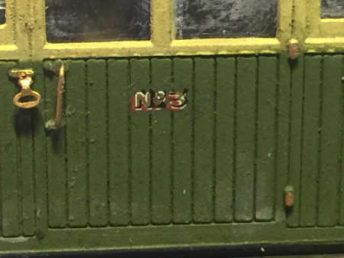
To complete the detailing I added Roxy door handles, drilled holes for the grab handles and fashioned 0.13mm wire for them.
Paint and finish
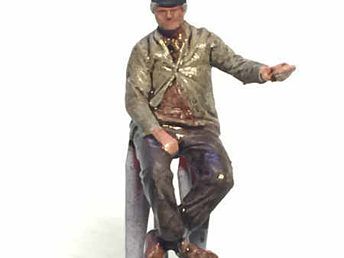
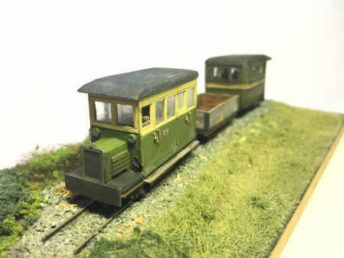
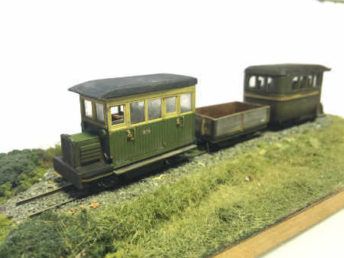
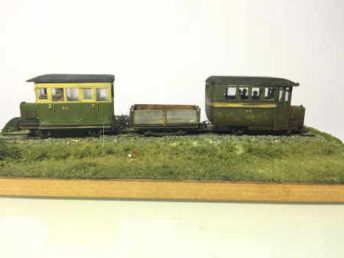
Reinier’s original article photographs are of the built but unpainted models and I couldn’t find any colour images of this particular railbus but the Dutch 009 Society website has some of the Reinier’s other railbus, the Dresnene, on Moors End so I used that as the basis for the colour scheme of Ding Dong Moor Light Railway cream and green. A seated Modelu figure was procured for the driver, gazing fitted and the roof added. As a final touch, I added No. 3 transfers on either side so that this can run with my Donegal No.4 railbus as a set.
Competition
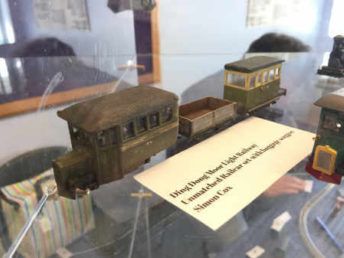
I entered this Railbus set as Unmatched Rail-bus set in the 009 Society AGM competition and apparently it won — which was nice.
A scratch-built rail-bus for the Ding Dong Moor Railway Gallery
Next post: Using Google Looker Studio to review your http to https migration
Previous post: A first look at Safecont content quality analysis SEO tool
