Resin printed figures for Whitesands Quay

I signed up for the Modelu. Patreon plan last year and pay a small amount each month and in return I receive a zip file of five or six figures on a theme for the month. These files are the .stl files for 3D printing. The downloads are only available for a short time and I missed March and Aprils this year - completely forgot to download them!
For the June release we had a pack of Sea Workers - men in oilskins, and these will be great for Whitesands Quay.. I had to look up the history of oilskins to ensure they are ok for the era I am modelling, they are, so I downloaded the files for printing.
3D printing
My Elegoo Mars 3 Pro printer has not been printing out well the last few times I used it - months ago. It put me off trying anything more for a while. After some online reading I realised that the problem was probably the FEP - the clear sheet at the bottom of the resin tank. I emptied the tank and cleaned it - the sheet was no longer clear but had an opaqueness to it. Also it was scratched in a few places and had a few odd lumps. A replacement was needed. I purchased a pack of 5 PFA Release Liner Film sheets. Replacing the sheet involved unscrewing 28 screws from the tank and plate, replacing the film and then replacing the 28 screws.
New resin
The Elegoo Water-washable Resin I have is nearly out of date and I discovered they now also produce a new version called 8K Water-washable Resin which some people are suggesting is just a marketing gimmick. It comes in three shades of grey and I chose the darkest - called space grey, just like the Apple products and about the same colour... So yes perhaps a marketing gimmick! However the combination of the 8K resin and the new FEP has produced an excellent set of prints!
I printed 40 figures from the Modelu files I had - many for the first time - in one batch costing me 18p in materials. I will still purchase Modelu figures though as their quality is better than I can print, less brittle and they have figures for sale that have not been made available as files. Having cleaned then and hardened them using UV light I set about painting.
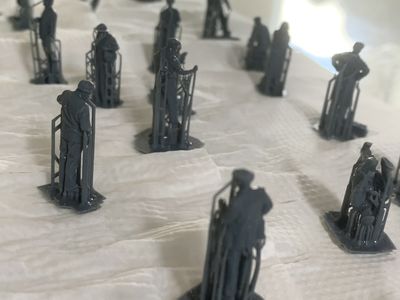
Cleaning up the prints means cutting off the supports which are necessary to support the delicate part of the models. This resin is very brittle and I lost a few hands and feet in this process - some of which I was able to superglue back on but it is a delicate part of the process.
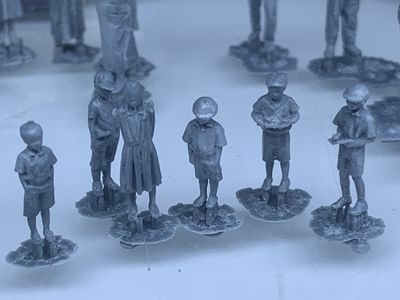
Figure painting techniques
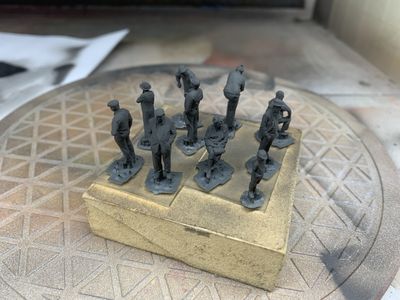
I mounted 10 figures onto double sided tape on a block of wood. This tape might be a bit too strong but I am going to cut the figures off their printing support sprues anyway. I airbrushed the figures with Ammo by Mig One Shot Black primer. I then followed up using One Shot White primer only from the top. This will give a subtle shading when painted.
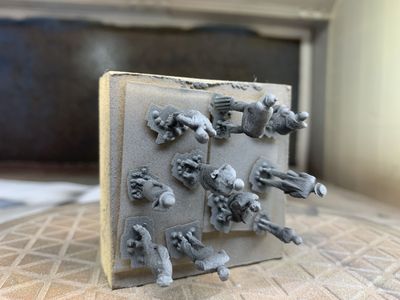
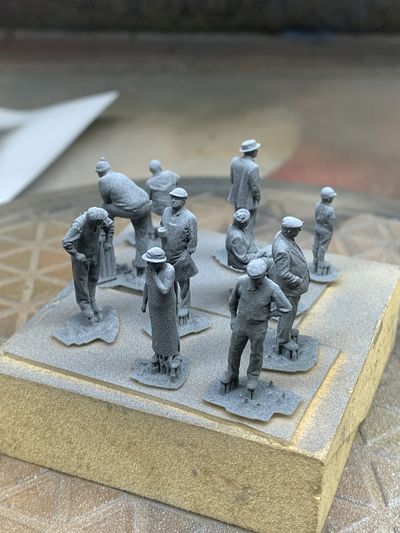
The first thing to paint that I do is always the flesh. This immediately brings them to life!
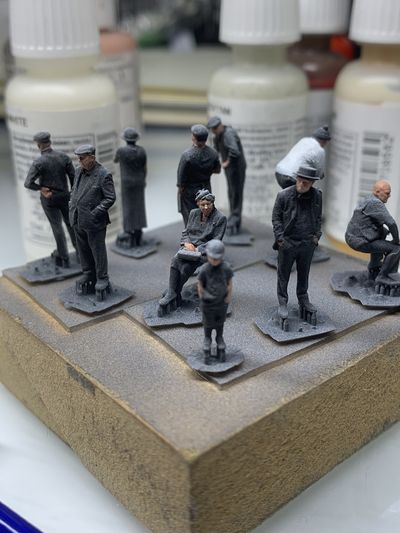
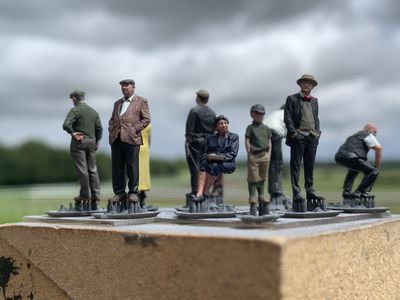
Then I work around the figures mixing and adding colours. There is so much detail on these figures that they are hard but a joy to paint.
Next post: Goods Shed and Ticket Office
Previous post: Whitesands Quay Customs House rocks


